Those of us who do astronomical observing go to great lengths to seek out dark sky sites to carry out our observations, whether professional or amateur. But occasionally I tend to stray from the accepted norm, and rather than avoid the light I create it – I’m a light painter!
Light painting is an art form using various sources of light to create a pattern or illuminate objects in a dark scene, which is captured by taking a long exposure photograph. Exposure times for such photographs can range from a few seconds to an hour or more, and the resulting images are unlike anything you could see with your naked eye. To create a light painting photograph, you need to use a camera on which you can control the shutter speed, and a tripod, to keep your camera steady for the duration of the exposure.
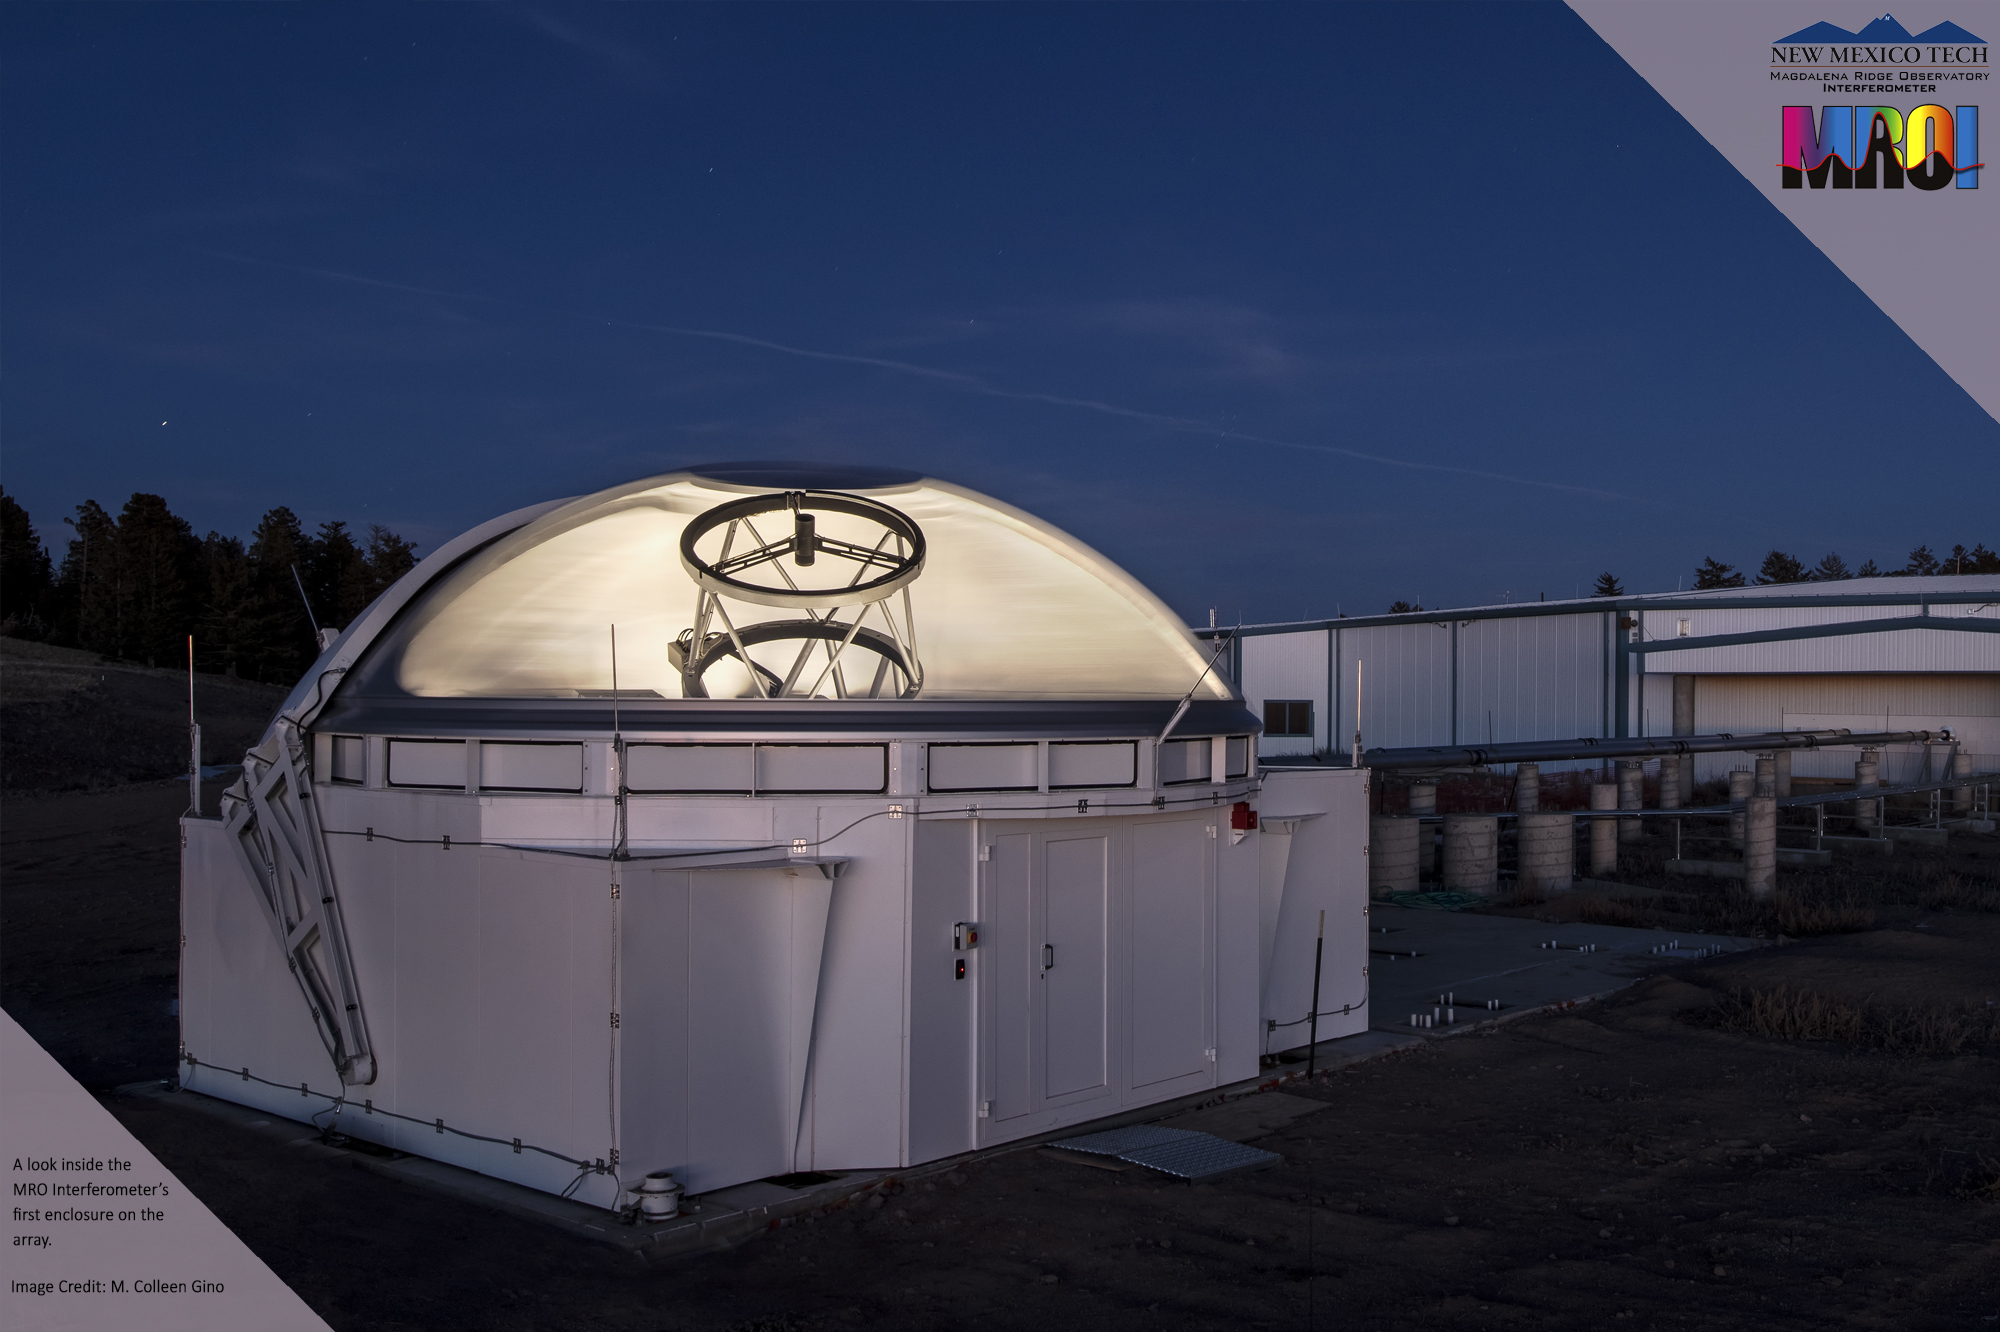
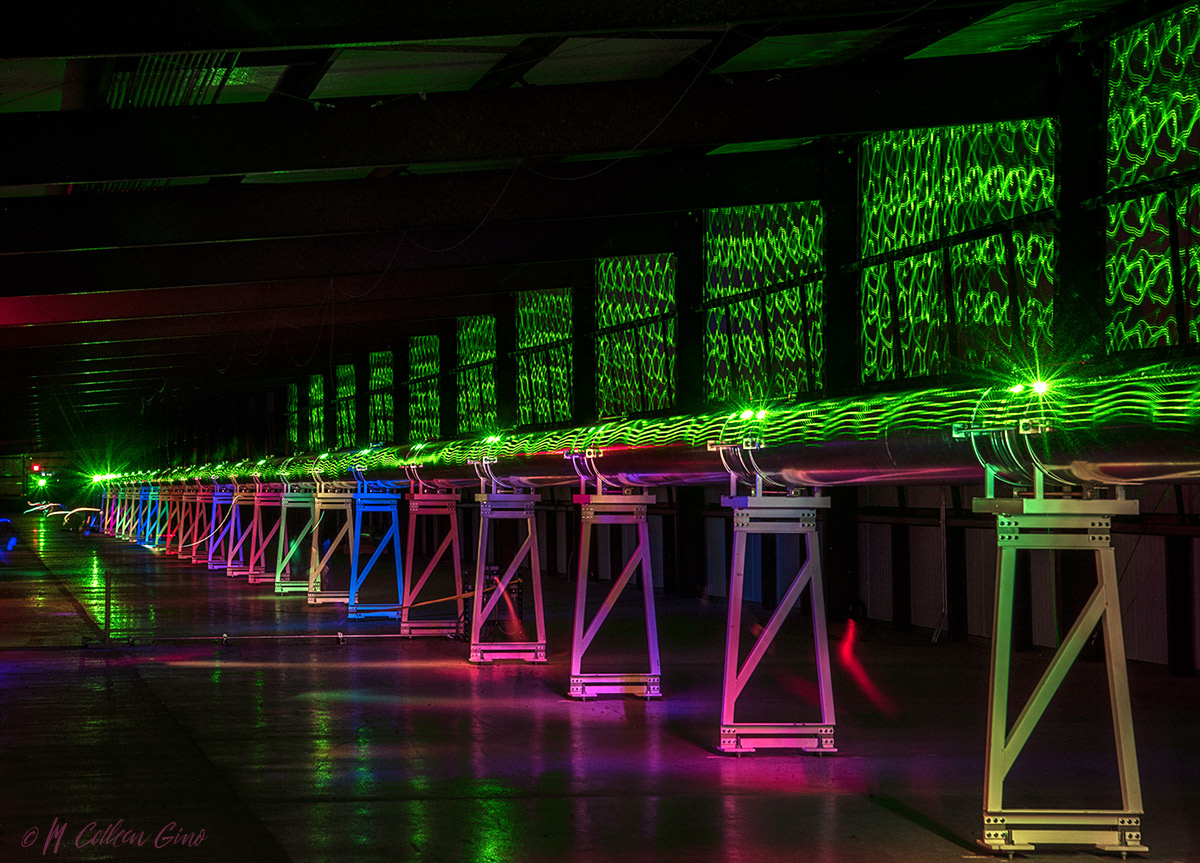
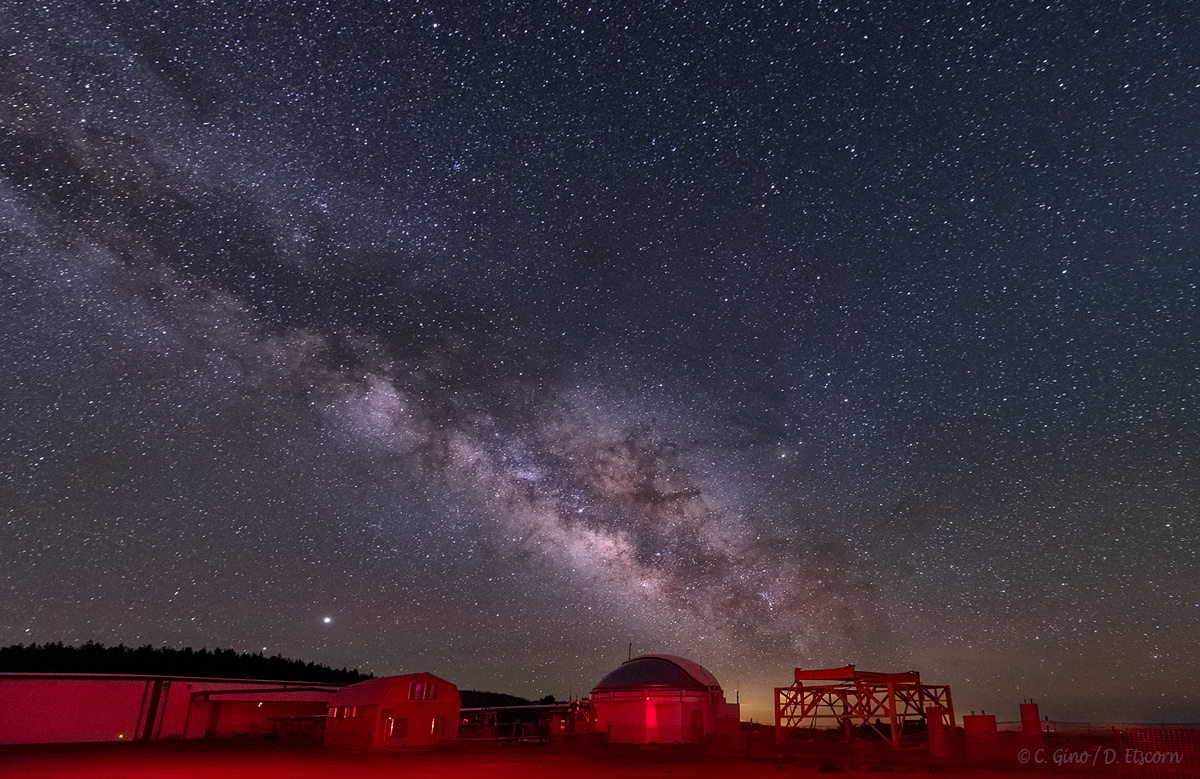
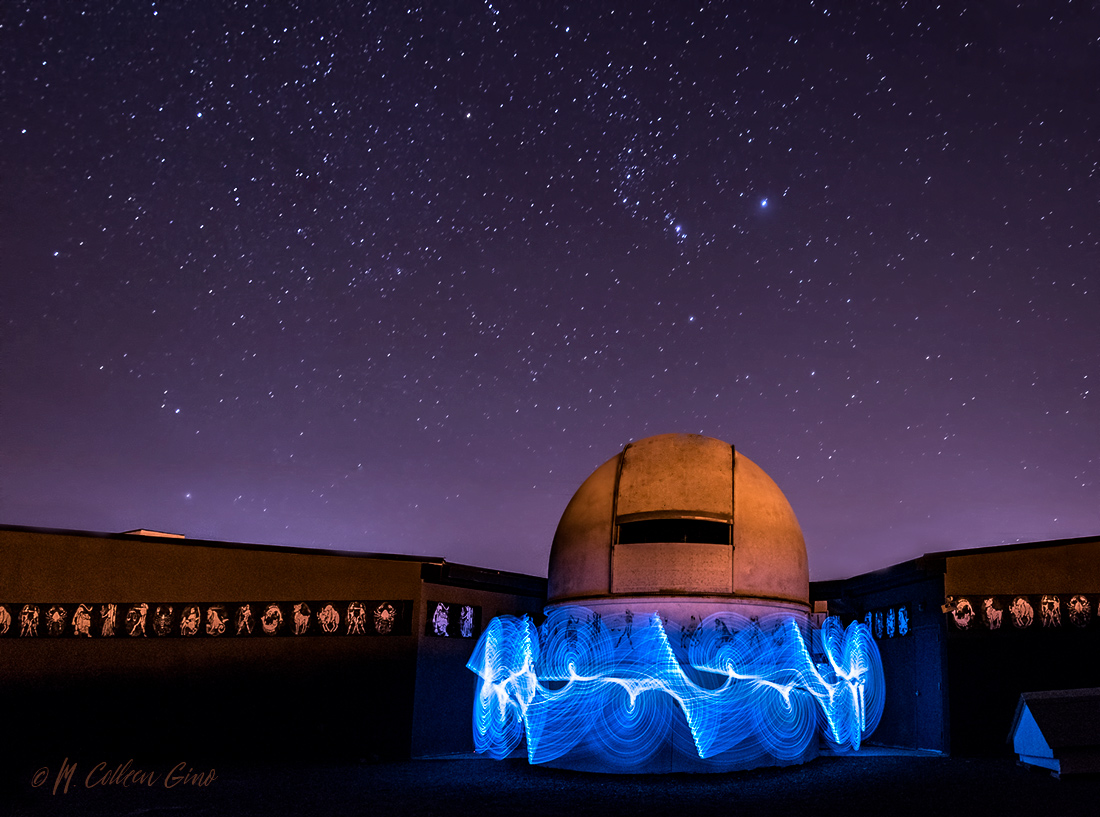
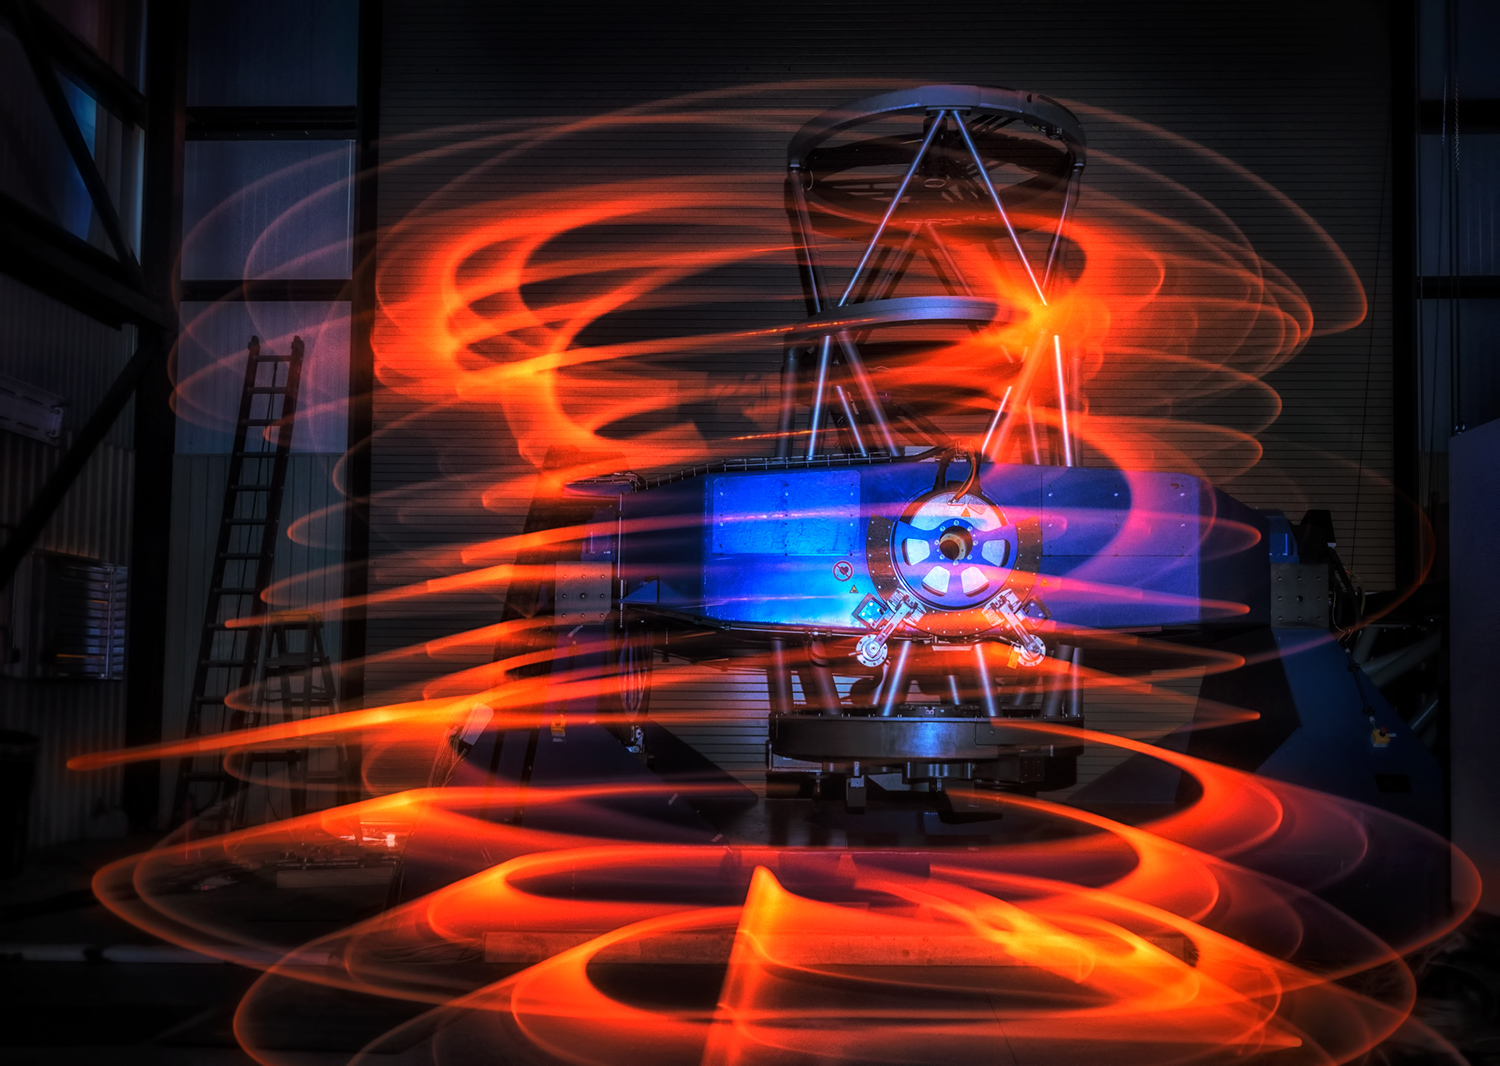
In its simplest form, parts of a dark scene are illuminated with a light source such as a flashlight. This is the method I used in the images numbered 1, 2 & 3. In image #1 I painted the foreground and structures with a red flashlight from a distance. Had the structures not been illuminated in this way, they would have appeared as silhouettes. This method of illuminating objects was employed on the header image of this post as well, although it was more involved because we used a color-changing flashlight to illuminate the delay line’s supporting structures, and a laser light to illuminate the delay line and walls. The camera shutter was open for more than five minutes in this image.
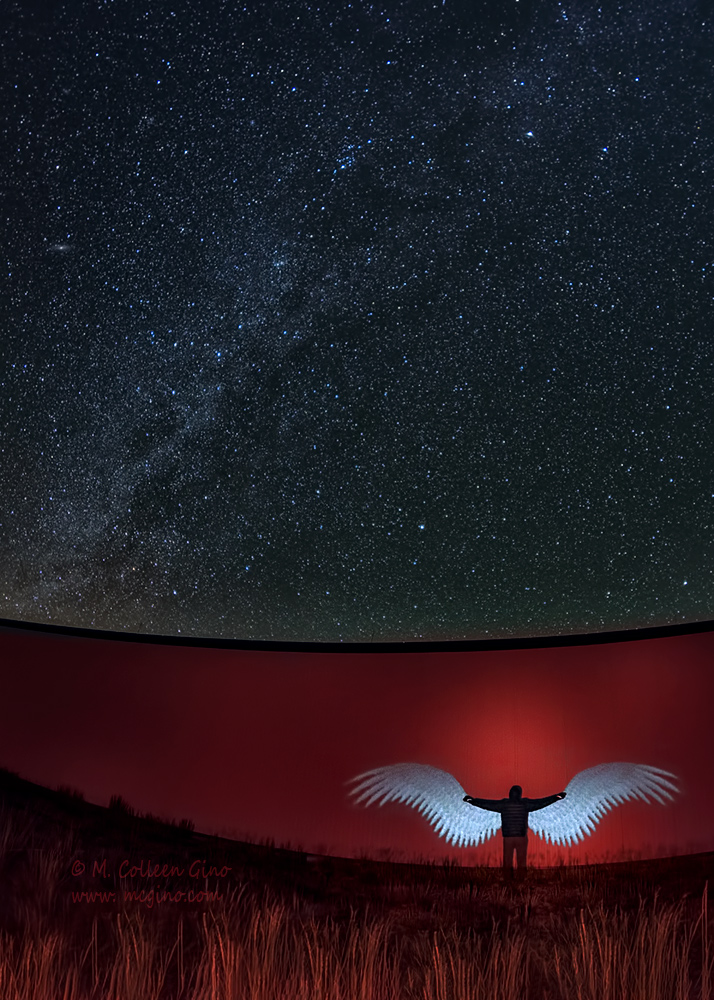
In image #2 above, both the subject and the background structure were illuminated with a red flashlight, then the wings were created by flashing an image of wings on the wall behind the subject with a camera strobe light attached to a special device much like a miniature slide projector.
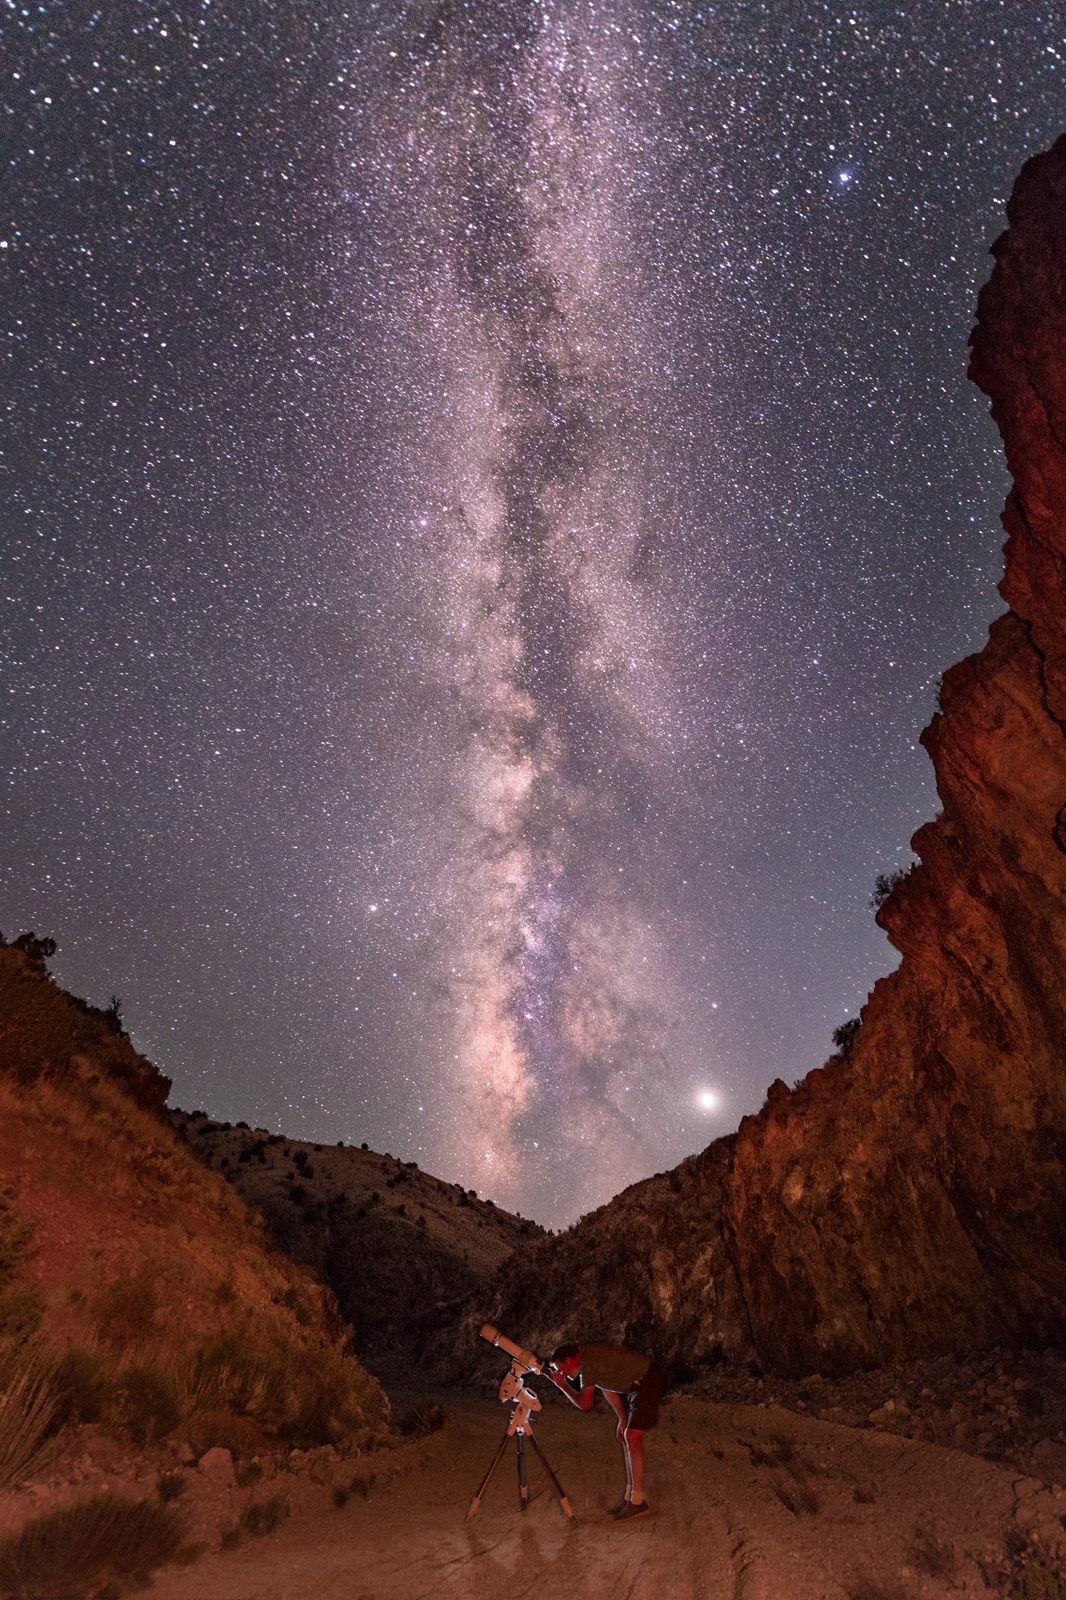
In image #3 above, I “painted” the walls of the canyon with a red flashlight, then painted the telescope observer from behind with a flash unit.
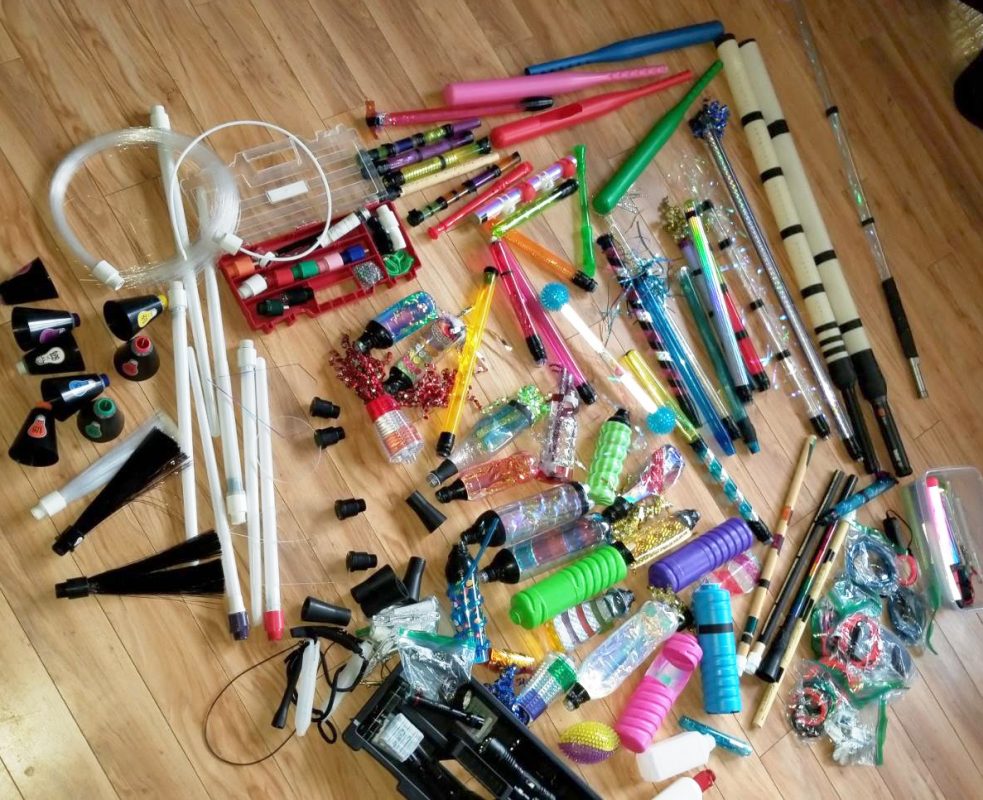
A more complex method of light painting is to move through the dark scene while creating a pattern with one or more light sources, which are usually specialized light painting tools such as those shown above in image #4. The tool is connected to a light source (flashlight), then you move the tool in a controlled motion to create the desired pattern.
Images numbered 5, 6, and 7 are examples of this method. The slight difference between image number 7 and the others is that the light sources used to spell out MROI were sparklers rather than typical light tools.

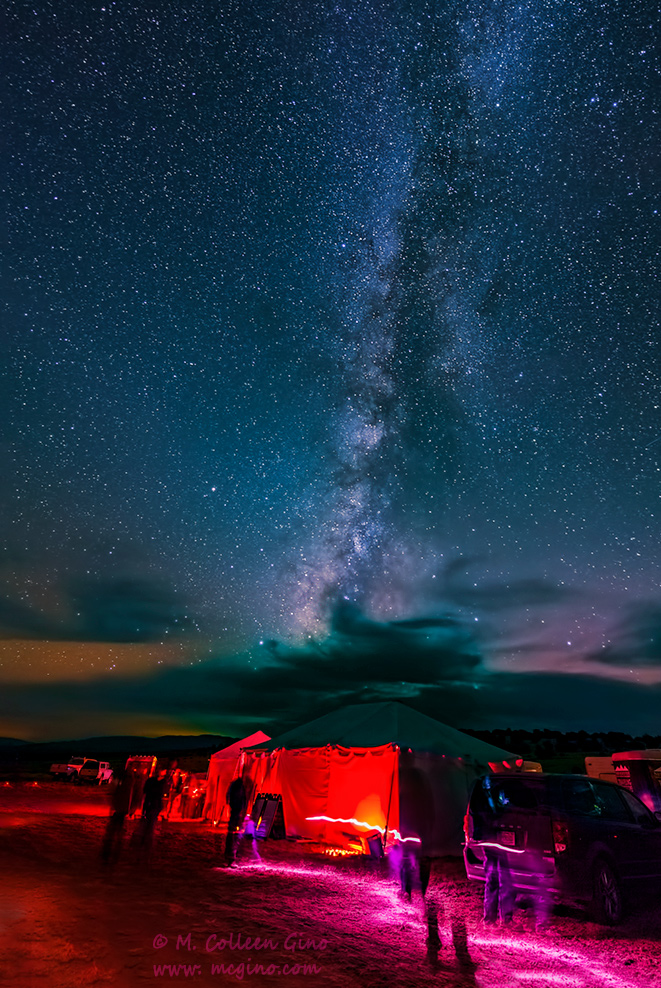
It is also possible to create a light painting effect simply by taking a long exposure in a dimly lit scene, as in image #8 below. In this case the tent appears red not because it was painted with a red flashlight, but because the inside of the tent was lit with red lights. The light streaks in the scene were from the flashlights people were using to illuminate their way in the dark as they passed by my camera.
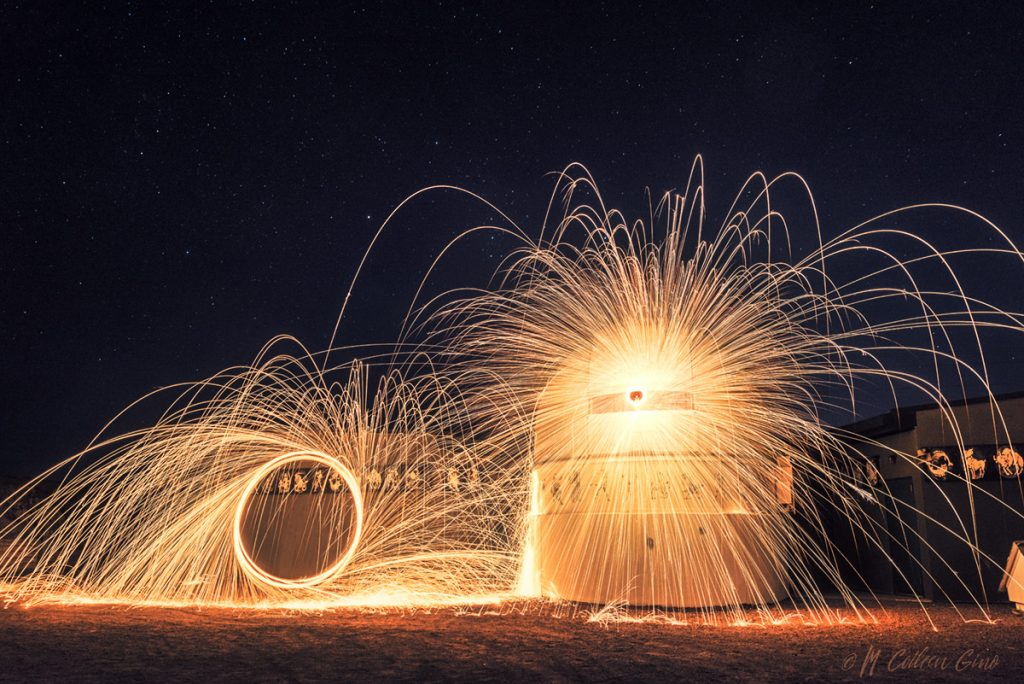
Another method of creating an intriguing light pattern in the dark is steel wool spinning. While it can be considered a type of light painting, it is in a category all its own. To create this type of image, you stuff a metal whisk with steel wool, ignite the steel wool using a lighter or 9v battery, then spin the whisk, which is suspended on the end of some type of cable, until the steel wool burns itself out. This is what was done in image #9 below. This method is not for the faint of heart, as you really are “playing with fire”. Moreover, you must be extremely cautious of how and where this activity is carried out, as the sparks from the steel wool can easily start a fire. However, with the proper precautions you can safely produce a stunning image.
Since I discovered the art form of light painting about 5 years ago, it has become one of my favorite photography genres. I’ve involved dozens of friends in the process of creating various types of light paintings, and as far as I can tell they’ve all enjoyed the process as much as I have. So the next time you find yourself in a dark setting with a camera, tripod, and a flashlight or two, you might want to try your hand at painting the night with light!
To see more light painting images, you can visit my Flickr page at https://www.flickr.com/photos/inlightful/albums
M. Colleen Gino, MRO Assistant Director of Outreach and Communications